Showing posts with label black cat. Show all posts

Friday, April 3, 2015

Experimenting With Hole Punch Pliers


Hello everyone!

Recently while playing and experimenting with my wire, I was suddenly struck by an idea. If I could somehow punch holes in wire flattened with my hammer, it would add a whole new set of possibilities in my wire work. But how to go about punching holes in metal? A pair of hole punch pliers!

It's time to replace my background paper!
I picked up a pair of Beadsmith 1.5mm hole punch pliers from Amazon for less than $10. These have a little screw near the joint of the pliers that's adjustable and prevents the pliers from leaving marks on your metal.


It takes a little bit of squeezing, but it punches pretty easily. I did find that the screw on my pair is very difficult to screw, even with a screwdriver.

After a few moments spent hammering, I tested out my idea.

Forgive all the cat hair.

It worked great! My only quibble would be that it says it's a 1.5mm hole punch, but it makes 2mm holes. I wish I had bought the 1.25mm pair (that are more expensive for some reason).

Soon I realized that these pliers would allow me to incorporate metal stamping blanks into my wirework. I ordered a curvy bronze Vintaj blank, two teardrop shaped copper blanks, and a pretty color mix of Swarovski bicones and waited for them to arrive.


I was most excited to play with the Vintaj blank, so I started sketching and designing right away. I knew I wanted to punch holes in it to act as anchor points for wire shapes.


Figuring out the order in which to do things took a try or two, but eventually I worked it out.


At the end I added a wire coil as a frame but also a loop at the bottom for some crystal dangles and at the top, a woven bail.


At the end I added a chain, a handmade clasp using my free hook clasp tutorial, and a little chain cascade dangle of crystals for that special finishing touch :) I named the necklace 'Spice Road', and it is available in my shop!

Next in line for the hole punch pliers were the copper teardrops. I specifically bought two for earrings, and since they're smaller, I decided against doing a wire design in the middle. Instead I added a two-wire border...


...coiling around the inside wire and bending the outside wire as I went...


...attaching both to the teardrop each time I came to one of the holes. Then to finish them off, I added bicones from the mix I bought around the outside in a gradient of colors.


They've been named 'Persephone' and I think they may be my most favorite earrings to date! It was a little difficult to list these, but they are available in my shop.

I may still eventually go back and get the 1.25mm hole punch pliers at some point for hammered wire and for metal blanks like these- but I definitely will be doing more work like this in the future!

Today I'll leave you with Trinity, perched atop my apple box.


'Til next time!


Saturday, March 8, 2014

Adventures in Cross Stitch and Blackwork


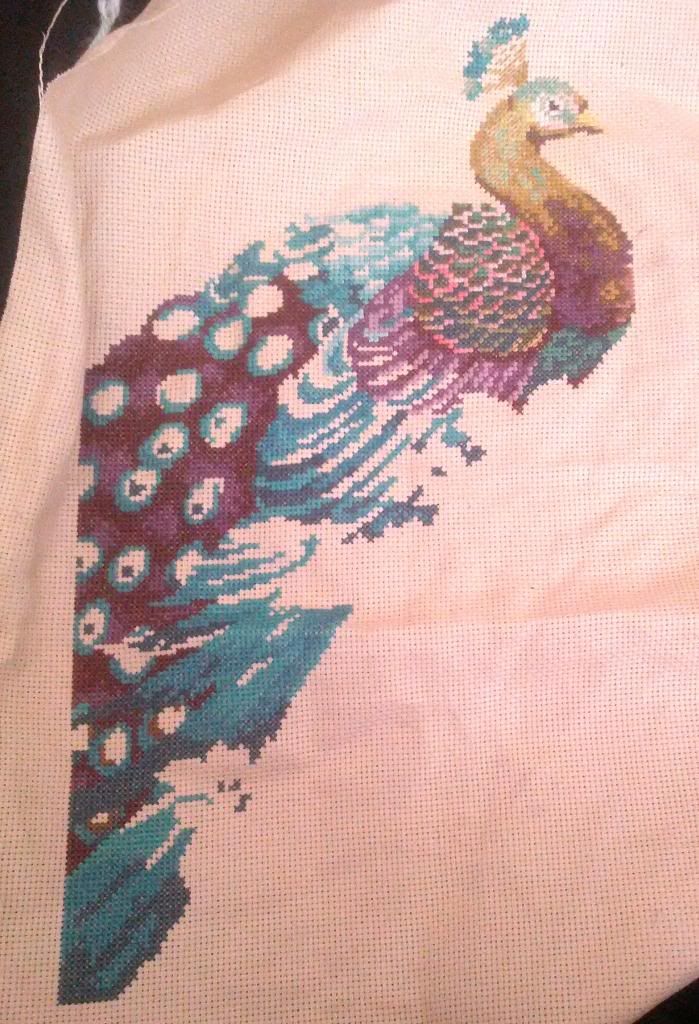
Hello! It's been awhile as usual, but during that time I've been busy! I developed a sudden interest in embroidery. My family got me a gift card to Michael's for my birthday and when I went to spend it, I happened upon this gorgeous cross stitch kit by Dimensions, featuring a flamboyant peacock. It's an ambitious pattern but I've gotten quite a bit of it done...

peacock cross stitch

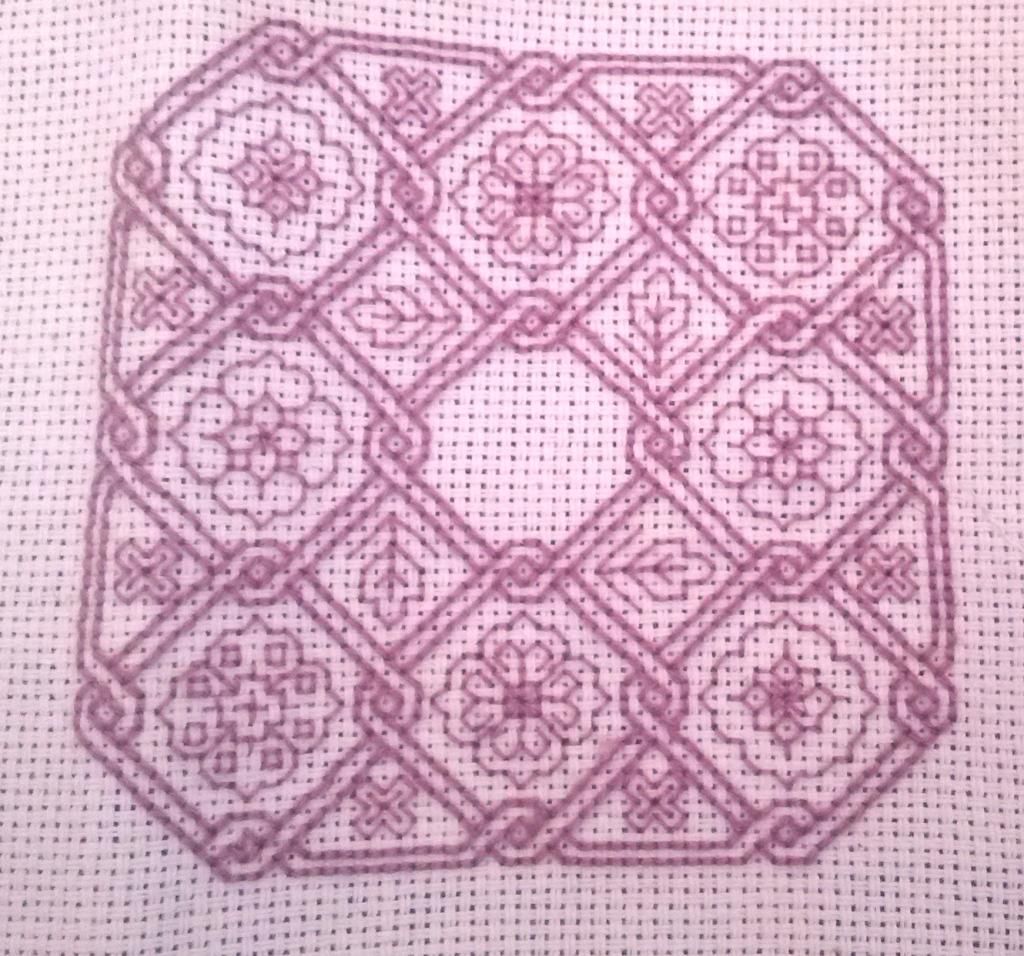
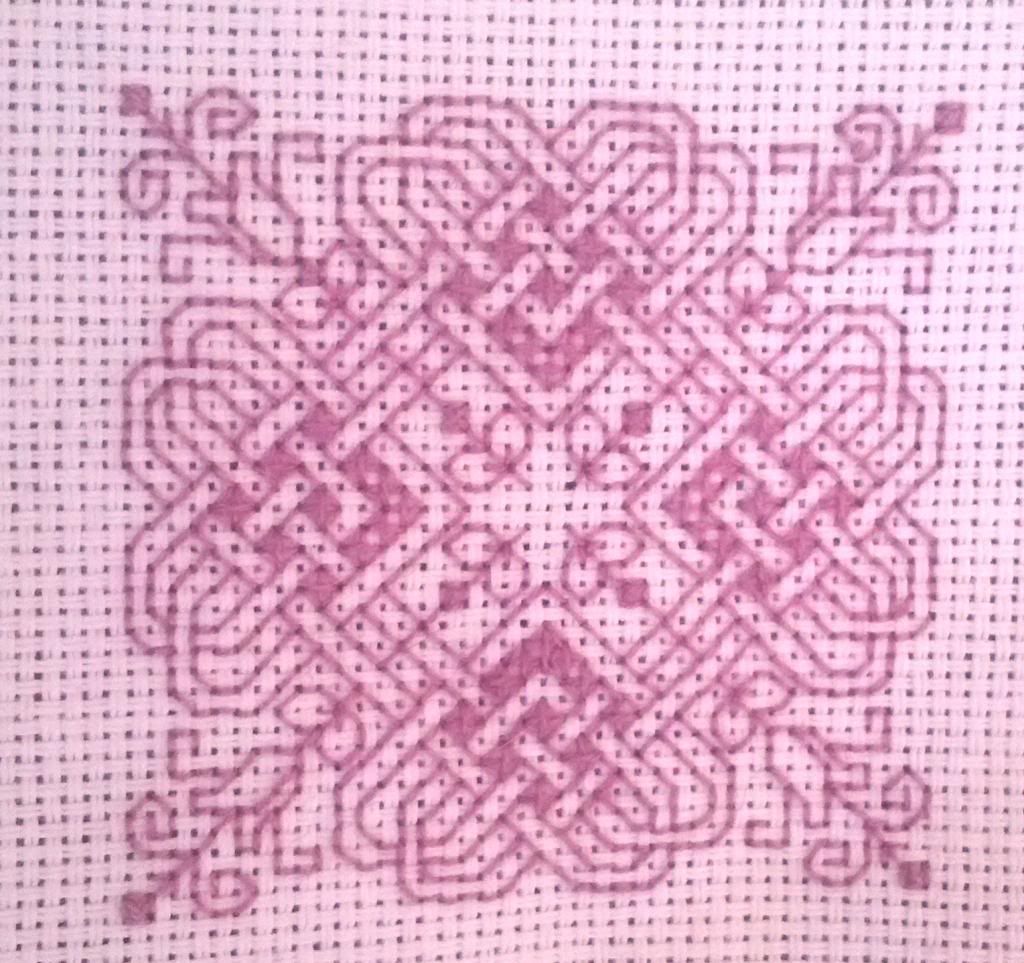
...but in between working on the peacock, I discovered the joys of blackwork embroidery (thanks to Pinterest!) and so I picked a couple smallish patterns to complete:

blackwork embroidery square


blackwork embroidery square

As you can tell, for awhile I only had purple embroidery floss, haha. I finally picked up some black floss and am now in the middle of this design (click the link below to see the full pattern). I intend to use red floss for the heart shapes in this pattern just for something a little different.

blackwork embroidery square


And I've been busy on Pinterest in general pinning all sorts of things. Have a look at my Blackwork board for a ton of free blackwork patterns.

That's all for today. I'll leave you this time with Trinity telling me to take a break from stitching. 'Til next time!

black cat Trinity


Tuesday, July 17, 2012

Fortune Teller Beads

So, recently I discovered a free PDF for Diane Fitzgerald's awesome Fortune Teller Beads. The PDF contains instructions for a 19mm bead, but after some playing around, I was able to modify the design to work with a 14mm bead and two 20-22mm marbles I've had around for awhile. If you're interested, you can download the instructions here, along with instructions for two other projects.

This is my first go, using transparent lavender and coppery-gold seeds for the netting, and a plastic iridescent 14mm bead for the core. The design allows for room to add bits at either end of the bead, so I stitched a purple glass drop to the bottom and a purple glass bead to the top, with a few more coppery seeds that I aim to turn into the bail for a necklace. I think that since the bead is rather ornate, I'll go clean and simple on the necklace part.

I'm in love with this technique- it's easy, it works up quickly, and at the end you get to gather up all the seeds on each end into a tight circle, and it's really really satisfying to watch them tighten up around the bead when you pull it tight, haha.

Here's my two large beaded marbles- I did the blue one first. I had to modify the design a bit by altering the bead counts in each netting stitch and then adding one seed between each seed at the top and bottom where the netting 'gathers'. I thought the blue one looked a little naked, so I added transparent purple and silver beads in between the 'windows' that the netting creates. I'm not thrilled with the look, but it was fun nonetheless.

The red one I really love :D I used coppery size 8/0 seeds at the intersection points in the netting, and i like the look it gives. I'm imagining a tassle of fringe hanging off the bottom- I'm not good at maintaining the right tension on fringe, so that will be good practice :)

That's all for now. Today I'll leave you with Trinity having a conversation with me. 'Til Next Time! :)


Wednesday, January 25, 2012

January Moodboard Piece (and a bitch session)

Well, here it is- my piece for the January Moodboard at OTTBS.

LET ME TELL YOU- this thing frustrated me at every turn! Argh!

The strap is made with Gwen Fisher's Super RAW in Miyuki cubes and Czech 11/0s in white, embellished with silver Tohos in 8/0. The focal and the open half of the toggle are both the same, with a black glass pillow bead in the middle of the focal.
My first complaint- the cubes are a little irregular- enough to make this piece look wonky and wobbly. Second complaint- you can still see the threads holding the open square beads in place DESPITE me taking a Sharpie to them multiple times. Third complaint- the silver 8/0s aren't enough to fill the holes between the cubes, but four 11/0s were too much! So there's thread showing there, and augh I hate thread showing. HATE IT.
I guess the one good thing about this is that, despite all the frustrations, I plugged away and finished it. I really try to come up with something for every Moodboard, and although I'm not entirely pleased with this piece (understatement), at least I stuck with it and finished it. I suppose that counts for something!

I'll leave you today with Trinity and her pretty green eyes.

'Til Next Time!

Wednesday, September 7, 2011

I Love Getting Mail!

Hello~

So my eagerly-awaited copy of Creative Beading Vol. 6 came in today, courtesy of the giveaway by Cyndi at Beading-Arts. I've been stalking the mail truck for days now, so imagine my delight when I came home from a doctor's appointment (with Taco Bell in tow), my husband presented me with a package that could be none other than my long-awaited treasure! I was surprised before I even opened the package, because it was clear by the weight and feel that the book was hardcover. Very nice!

After perusing every page of the book, I decided that I must create a project from it after I'm done with my first creation for the September Moodboard over at OTTBS (I think I'll finish it tomorrow; stay tuned for photos~) After much consideration, I decided to go with the "Do The Twist" bracelet (as shown at left), because A. I have the proper beads for it, and enough of them, and B. I have experience with twisted herringbone, so it isn't entirely intimidating. I'll have to look through my beads to decide on the color, but today I did pick up some gorgeous Toho hex beads in a sort of blue lined with copper with a sort of AB coating- yum! I bet I can find some firepolished rounds to go with them (I bet it'd work with rondelles, even- and I have way too many of those...)


So that's the news for the day; good stuff, I'd say! I'll leave you with Trinity, hugging my wrist tightly as she sleeps.

'Til Next Time!