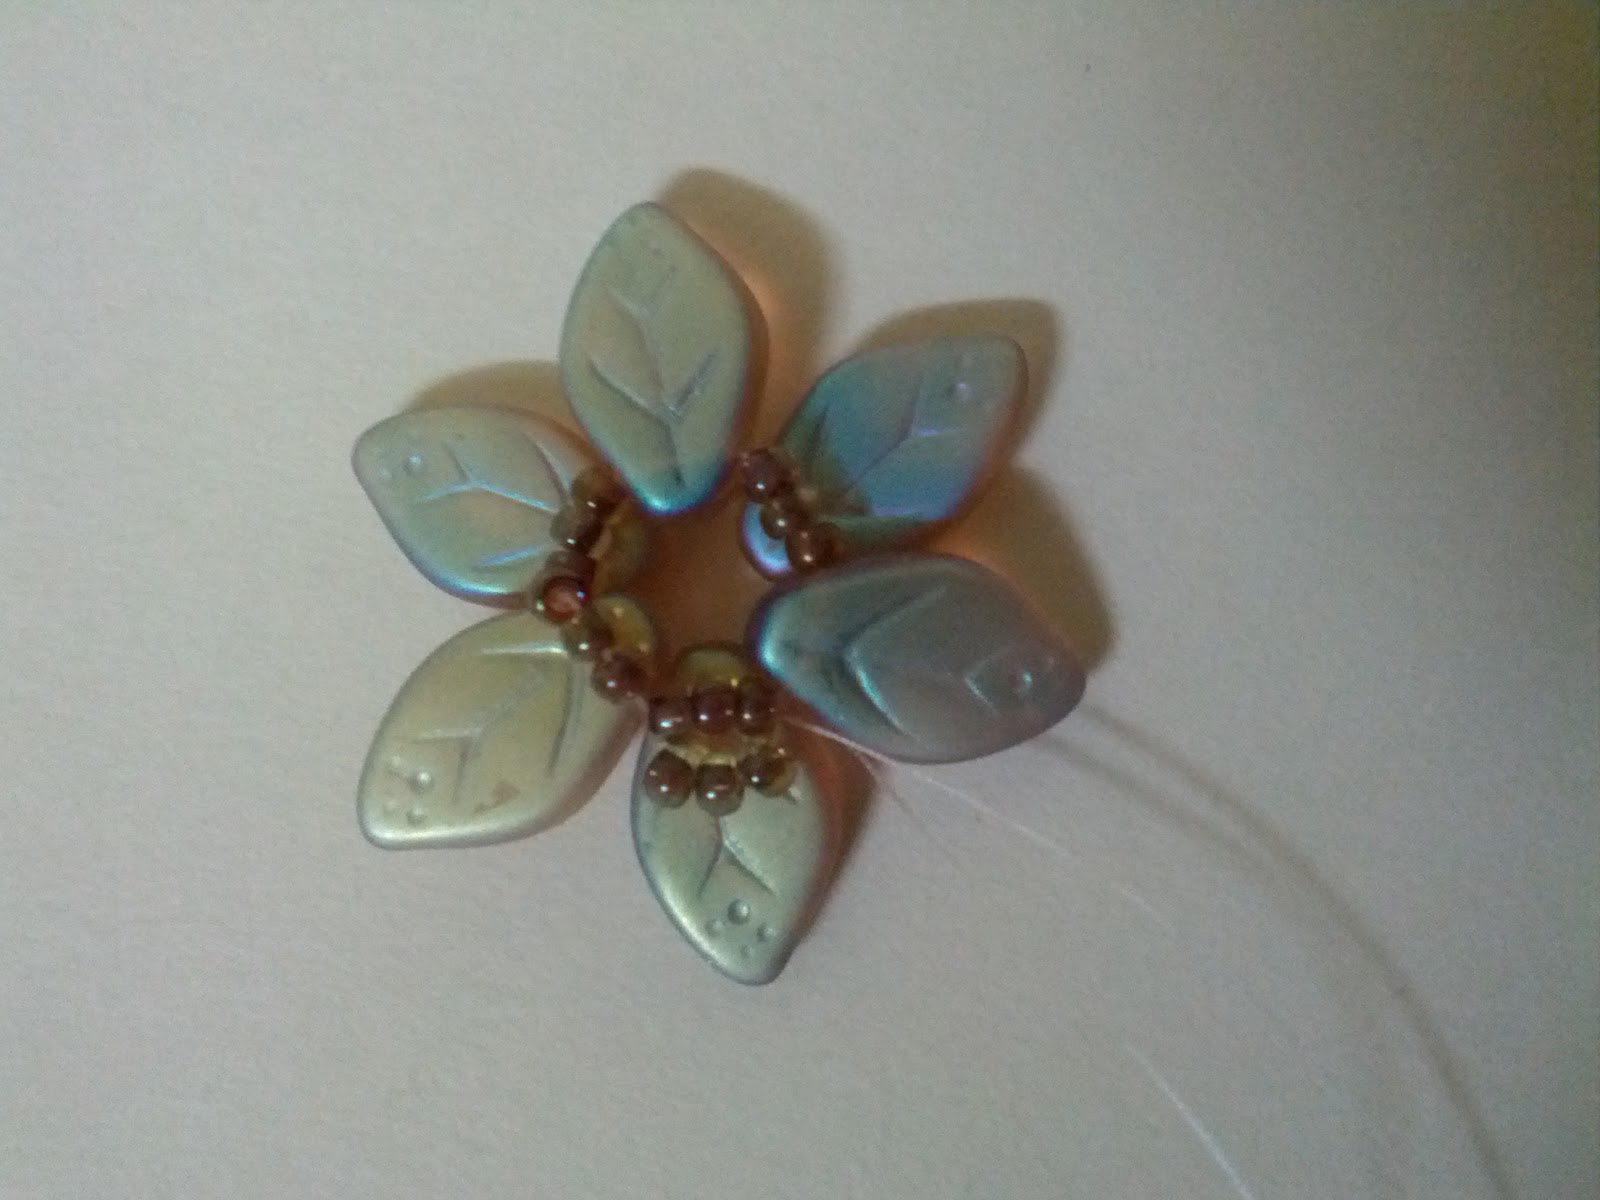
Hello again. Two posts in two days? Holy shit!
Today is a little tutorial using Czech glass leaf beads. I fucking love these things. I haven't figured out what the allure is- but there's just something about them that makes me NEED TO OWN THEM. Needless to say, I have a borderline-embarrassingly huge collection of them- embarrassing because I don't think I've EVER used one in a piece. No shit.
Well, I fixed that with a little flowery centerpiece made entirely from beads from my tube of
Miyuki Wheatberry Hearty Bead Soup that my husband bought me awhile back. (I love this mix- there's druks, small flowers, leaves, cubes, fringe beads, bugles, and four or five different types of round seed beads in various colors.)
Again, as always, please forgive the odd blurry photo. I desperately need a tripod. Also, partway through the tutorial I switched from a black background to a white one- messy, I know. Please let me know if you have any questions or if anything's unclear.
Since this is a mini-tutorial, I'm not going to spell out every single step to you. This tutorial assumes you are familiar and comfortable with ladder stitch.
❦ ❦ ❦
Note: this tutorial is protected by an International Creative Commons Attribution-NonCommercial-ShareAlike licence. This means that you are free to post this wherever you like as long as you give proper Attribution (that is, to me, Jet Kosanke, and my website, malfaitluciu.blogspot.com), it may not be used commercially (you're not allowed to make money off it, that is, sell this tutorial to other people for money), and you're free to make changes to it as long as you also share it under these same restrictions (that is, you still give Attribution to me, you don't sell it, and you allow it to be shared freely.) For more information, click the Creative Commons link at the end of the tutorial.
By the way- NonCommercial doesn't mean you can't sell works you make using this tutorial. If you make a necklace, bracelet, or whatever using this tutorial, feel free to sell it- however, you may not mass-produce it, and the Attribution part still applies, that is, you still have to attribute the design to me.
If you're unsure if what you want to do is allowed, just ask me! I'm really pretty laid back about things like this :) I'd rather share my knowledge and discoveries for free so others can learn than charge money for my tutorials. With all that said, on to the good stuff! :)
❦ ❦ ❦
Click on any image to view a larger version. On with the show!
Materials
- Your favorite needle
- Your favorite thread
- Six 12mm x 7mm Czech pressed glass leaf beads
- One 6mm Czech druk or other round bead (7mm would work fine too, in fact, probably better)
- 36 11/0 round seed beads (cylinders work too but I don't think they look as good as round ones)
- Your favorite music
- A nice cold pomegranate martini (optional)
Step One
String one leaf bead, three seeds, one leaf, three seeds, one leaf, three seeds on a comfortable length of thread. Stitch through all the beads again and then knot to form a nice tight little circle, as shown.
Work your thread through the beads so it is exiting a leaf bead.
Step Two
String three seeds, then go through the same leaf your thread is exiting, as shown.
Step Three
Pull your thread through, making sure the three seeds snug up against the top surface of the leaf, as shown. (This is ladder stitch)
Stitch through the three seeds next to the leaf your thread is exiting, then through the next leaf. Repeat the above step, stringing three beads and ladder stitching to the top of that leaf.
Repeat for the third leaf.
Step Four
Position your thread so that it's exiting a set of three seeds on top of one of the leaves, as shown.
Step Five
String one leaf bead, then stitch through the three seeds on top of the next leaf, as shown.
Step Six
Repeat this step twice more, adding two more leaf beads.
Position your thread so it is exiting one of the top-level leaf beads (which I mistakenly didn't show in the photo)
Step Seven
Flip the beadwork over.
Stitch through the three seeds beneath the leaf bead your thread is exiting.
Step Eight
Flip the beadwork over again. Stitch through the leaf bead above the three seeds your thread is exiting.
Repeat steps seven and eight twice, ladder stitching each top level leaf bead with the three seeds directly below.
Position your thread so it is coming out of one of the top level leaf beads.
Step Nine
String three seeds, then go back through the leaf bead your thread is exiting, as shown.
(In the photo, the thread on the left is the working thread, and the thread on the right is the tail thread)
Step Ten
Stitch through the three existing seed beads on top of the leaf bead next to the one your thread is exiting.
Step Eleven
String three seeds, then stitch back through the three seeds your thread is exiting.
Step Twelve
Repeat step eleven twice more, by working your thread through the next leaf and three seeds, adding three seeds, and ladder stitching them to the seeds your thread is exiting.
Position your thread so it is exiting a set of three seeds ON TOP of one of the upper layer leaf beads.
Step Thirteen
Stitch through the set of three seeds that is stitched to the seeds on top of the next lower level leaf bead.
Then, stitch through the three seeds on top of the leaf bead after that.
Repeat around the flower until you have created a circle of eighteen seed beads on top of the leaf beads. God I hope that made sense.
Step Fourteen
Position your thread so it is exiting the middle seed of the set of three seeds on top of the next leaf bead.
Step Fifteen
String your druk or round bead, skip eight beads, and stitch through the ninth bead, so your thread is exiting the seed bead directly across the one your thread is exiting.
Step Sixteen
Stitch back down through the druk or round.
Step Seventeen
Stitch back through the seed bead your thread was exiting in step fourteen.
That's it! Knot, work your thread ends in, and trim.
At this point, you can leave it like this, or you can do what I plan on doing, which is stitching a square stitched ring band two seeds wide to turn this into a cute little ring. :)
If you create something using this tutorial, I'd love to see it! Email me photos of your work (with a link to your blog if you have one) to malfaitluciu@gmail.com - I'd like to create a gallery page on my blog featuring your creations made using this tutorial (or any of
my tutorials) with a link back to your blog, too :) Don't be shy, let me show off your work! :)

I'll leave you today with Neo and Trinity losing their minds over a handful of clovers (we call it 'kitty salad') (*UPDATE* I have since learned that clovers are not a good treat for kitties- there is a substance in them that can make them sick. So, Neo and Trinity don't get clover treats anymore; just plain old perfectly safe cat-grass. So just for your info - don't feed your kitties clovers like I did! Thankfully Neo and Trinity seemed to have escaped any ill-effects. No more clovers for them!)
'Til Next Time~!